

How To Get Your Domain With SiteGround – Step‑By‑Step Guide
Choosing and securing a custom domain is the essential first step in building your online presence. Get your domain with SiteGround quickly and confidently—thanks to their trusted hosting platform. In this guide, I’ll walk you through each step: from searching to registering and connecting your domain.
(This post contains affiliate links. I may earn a commission if you purchase through my link at no extra cost to you.)
Step 1: Choose the Perfect Domain Name
Use SiteGround’s intuitive domain search tool to find a short, memorable, SEO-friendly domain. It shows availability across extensions like .com, .net, and .online. You can even get a free domain when you opt for a hosting plan!
Step 2: Check Domain Availability on SiteGround
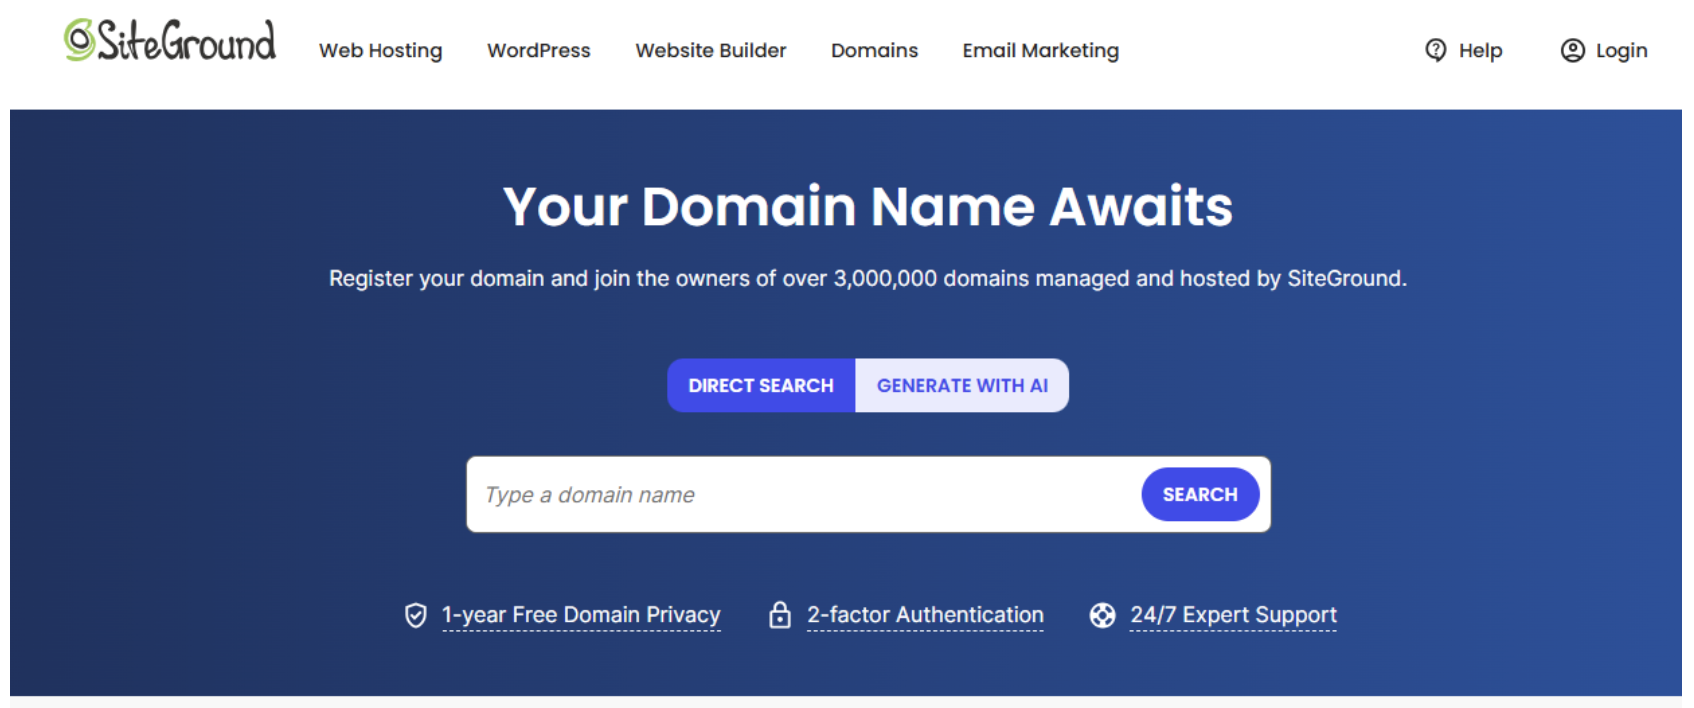
Instead of hopping between multiple sites, use SiteGround’s domain checker to see if your desired name is available. If it’s taken, SiteGround suggests alternative domain extensions (.com, .net, .online, etc.) and similar name ideas.
If your preferred name isn’t available, try alternatives by:
Using a different domain extension (.co, .net, .design, etc.)
Adding a modifier (e.g., “get”, “the”, or “official”)
Trying a shorter version or an acronym
Want a domain & website all in one? Get a free domain with a custom website!
Step 3: Register Your Domain through SiteGround
Once you’ve found your ideal domain, you’ll need to log in to your SiteGround account or create a new one to proceed with the purchase.
If you already have an account, simply log in.
If you’re new to SiteGround, sign up by providing your details and setting a password.
After logging in, add your chosen domain to your cart.
Select your registration length—1, 2, or more years.
Enable Domain Privacy Protection to keep your personal information private.
Complete the checkout process.
Bonus: When you sign up for SiteGround hosting, you can get a free domain for your first year, making it even easier and more affordable to launch your website.
Step 4: Connect Your Domain to Your Website
SiteGround’s user-friendly dashboard makes it easy to connect your new domain to your hosting or website platform like WordPress, Wix, or Shopify. They provide step-by-step guides and excellent support to get you live fast.
Step 5: Set Up a Professional Email (Optional)
Want a branded email like hello@yourdomain.com? If you purchase hosting, professional email hosting is included. No hosting? No problem—connect third-party services like Google Workspace or Zoho.

Owning a custom domain boosts credibility and brand identity. With SiteGround’s user-friendly interface, visual assets, and top-tier support, you can seamlessly get your domain with SiteGround and launch your online presence. Plus, by using my affiliate link, you’ll get trusted service with expert support — and you’ll be helping me keep creating helpful content!
Feeling a little lost on where to begin? Don’t worry—I’ve got your back! Reach out to me, and I’ll help you build a custom website tailored just for you!